 HappyShield
: 10-15′
Disclaimer
The University of Cambridge (UC) and the University of Queensland (UQ) make no warranty of any kind, express or implied, about the design, characteristics, durability, proper use or performance of the HappyShield, including but not limited to implied warranties of merchantability and fitness for any particular purpose. The HappyShield is designed to minimise exposure to fluids and sprays, but UC and UQ do not warrant that HappyShield will protect users from COVID-19 infection or any other infectious disease. Nothing in this material constitutes medical advice, and users should seek their own medical advice about whether HappyShield is suitable for the use they intend, and whether they should use it in conjunction with any other medical or other strategies. To the fullest extent allowed by law, UC and UQ exclude all implied warranties, guarantees, terms and conditions. UC and UQ are not liable for any claims, demands, damages or injuries, including but not limited to property damage, bodily injury or illness, death, indirect, special or consequential damages (“the Claims”) arising out of using the HappyShield, and users of HappyShield release UC and UQ and their officers, employees, contractors and agents from all Claims.
อุปกรณ์
- กรรไกร หรือ มีดโกน
- ปากกา
- ไม้บรรทัด
- มีดทาเนย
- เครื่องพิมพ์
วัสดุ
ตัวหน้ากาก
- แผ่นพลาสติก PET หรือ Acetate หนาอย่างน้อย 0.5 มิลลิเมตร
- ยางยืดทำมาจาก 70 % polyester + 30% rubber กว้าง 20 มิลลิเมตร
- เทปกาว
คำแนะนำ
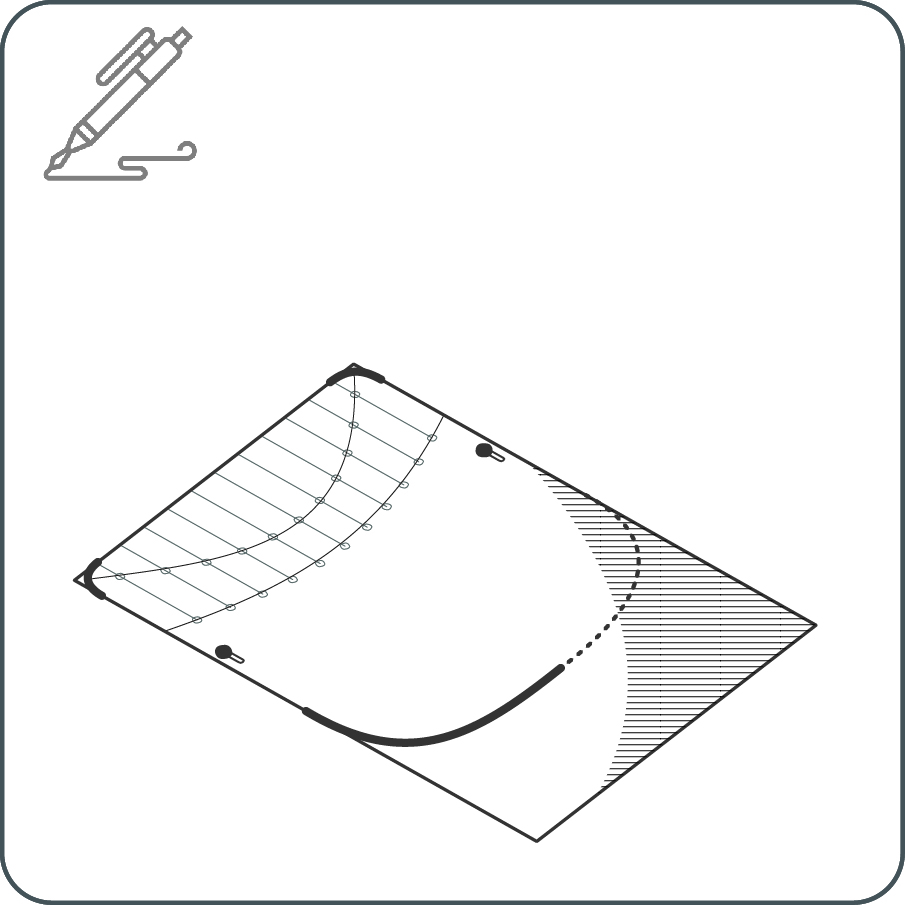
1

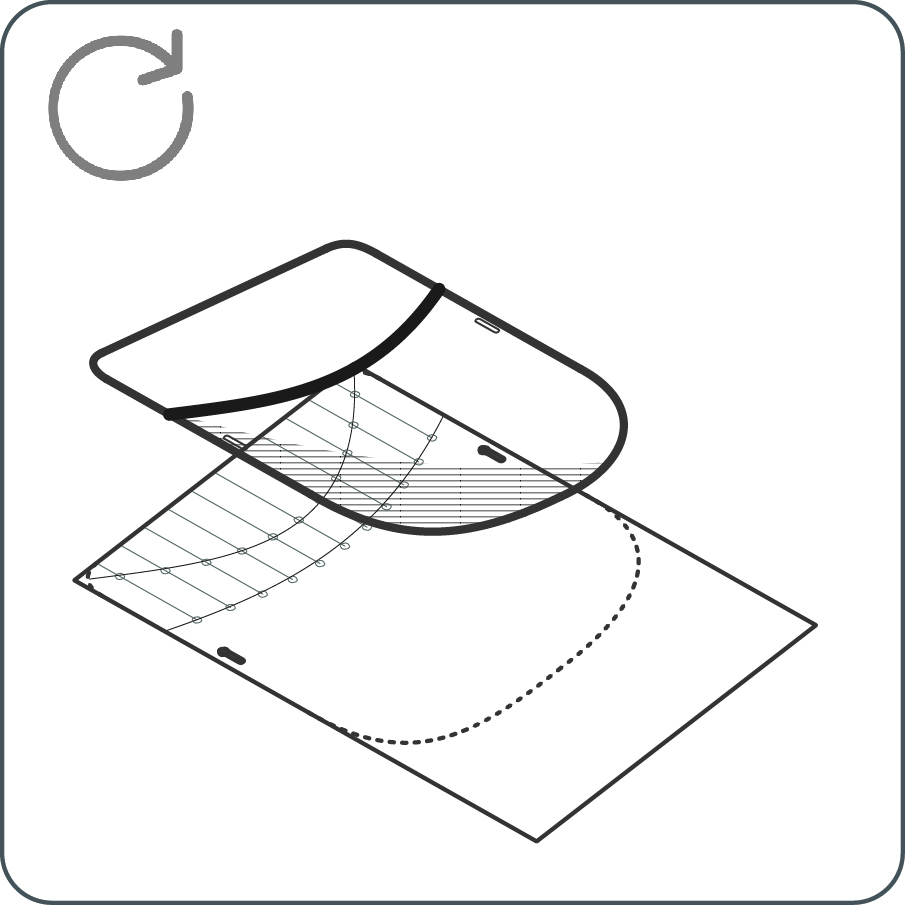
ดาวน์โหลดแบบหน้ากากขนาด A4 สำหรับหน้ากากขนาด A3 และแบบหน้ากากขนาดจดหมาย สำหรับหน้ากากขนาด tabloid หรือถ้าไม่สามารถปริ้นต์แบบหน้ากากออกมาได้ ให้วาดแบบหน้ากากตามขนาดที่แสดงอยู่ในแบบหน้ากากนั้นๆ
2

วางแผ่นพลาสติก PET หรือ Acetate บนแบบหน้ากาก แล้วทำเครื่องหมายบริเวณที่จะต้องเจาะรูด้วยปากกา (หมึกจากปากกาสามารถลบได้ด้วยแอลกอฮอล์หลังจากทำหน้ากากเสร็จ)
3
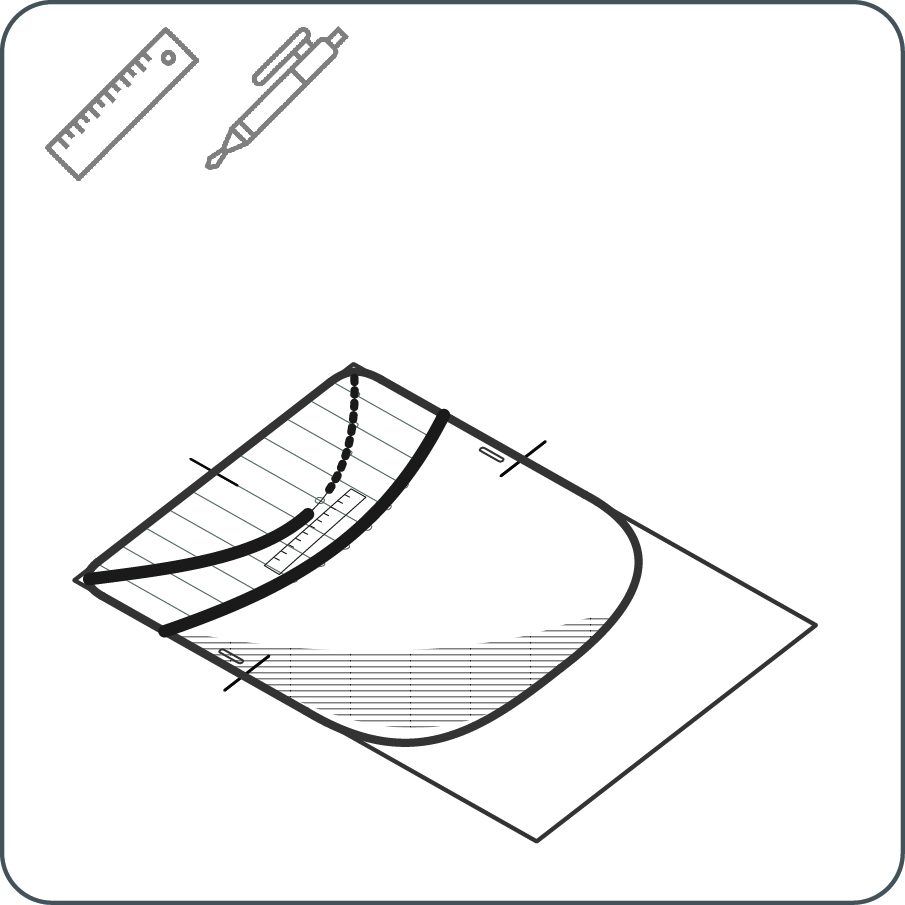
วาดแบบหน้ากากลงบนแผ่นพลาสติก
4
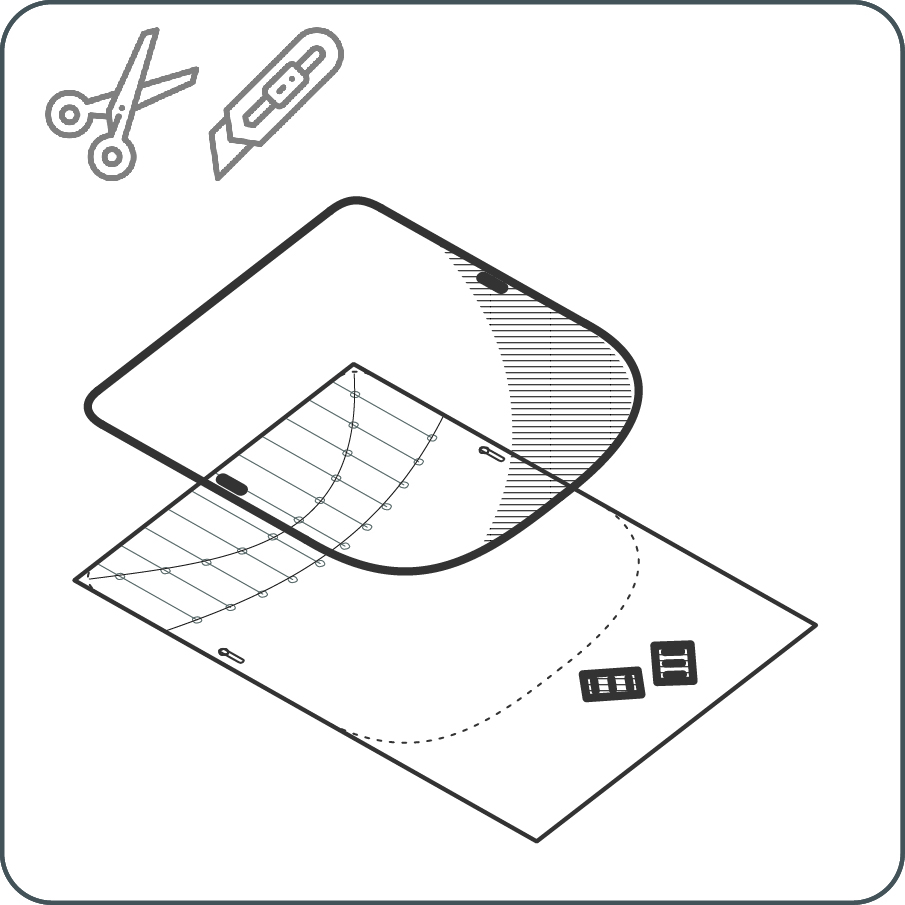
ตัดแผ่นพลาสติกตามแบบและเจาะรู
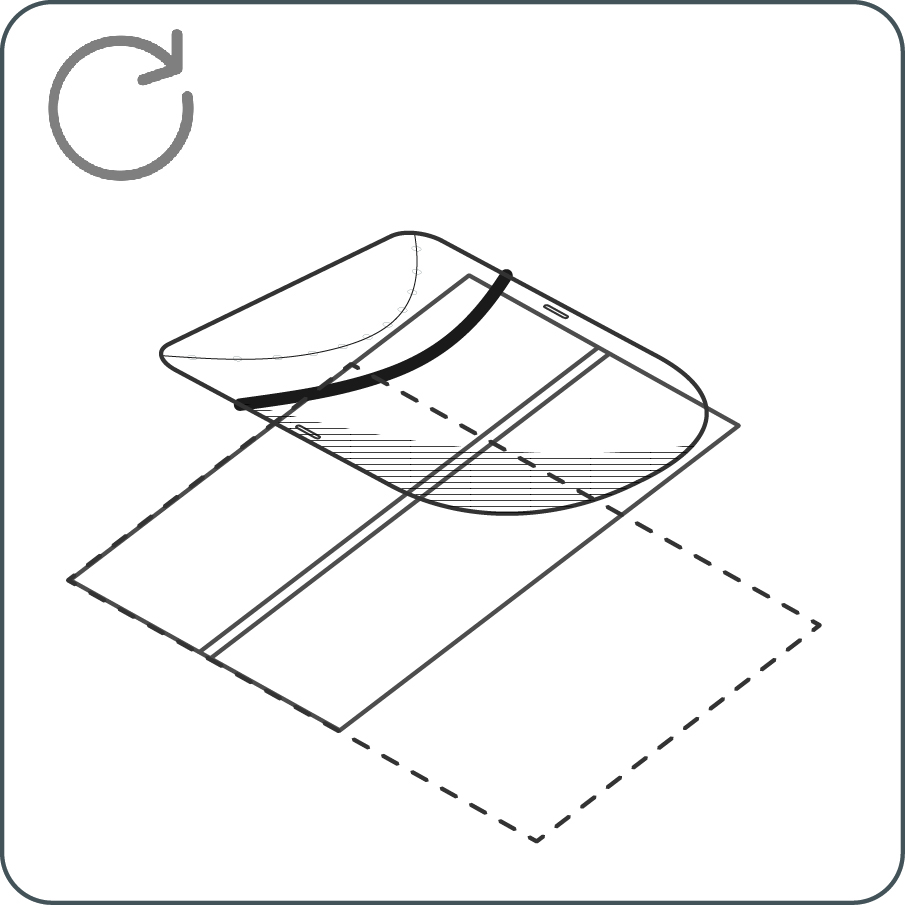
การทำหน้ากากแบบ A
5A
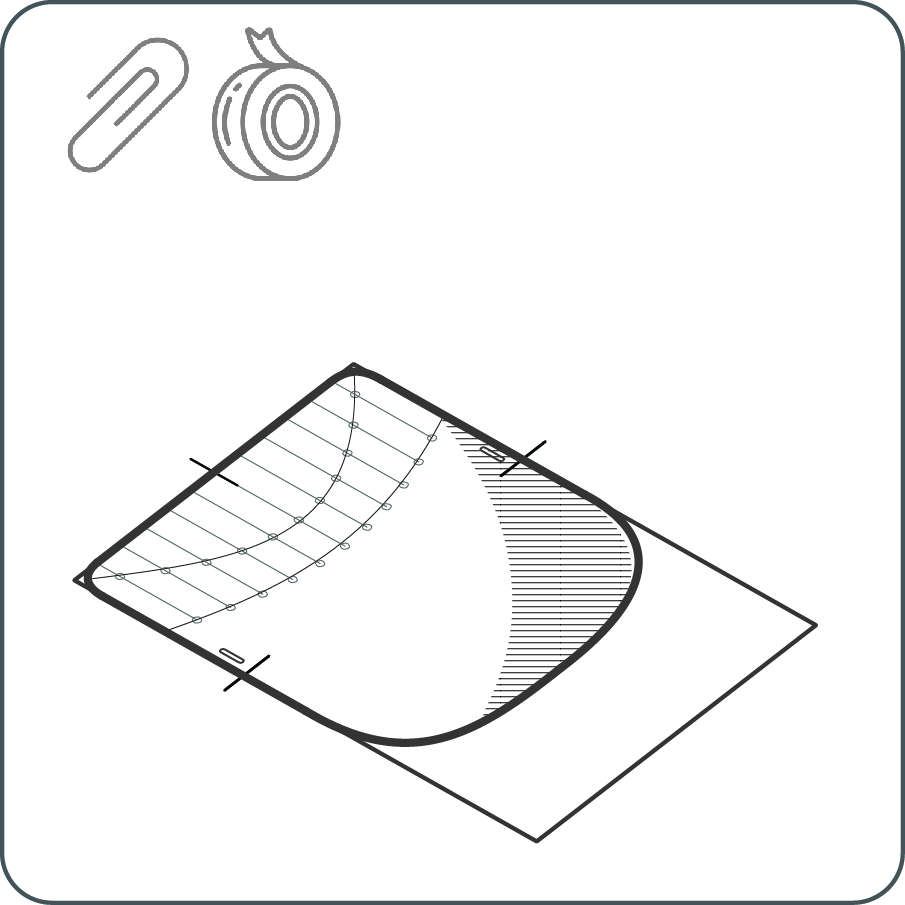
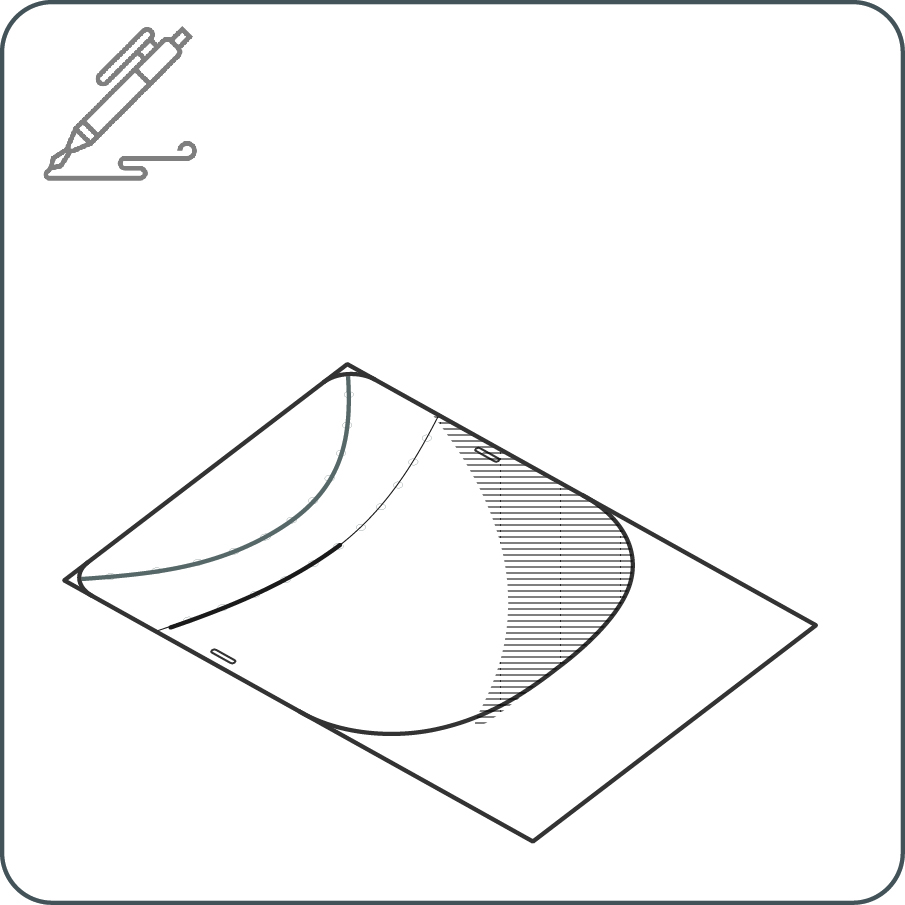
วางแผ่นพลาสติกลงบนแบบหน้ากาก แล้วเอาคลิปหรือเทปกาวติดไว้ เพื่อป้องกันการขยับเขยื่อน
6A
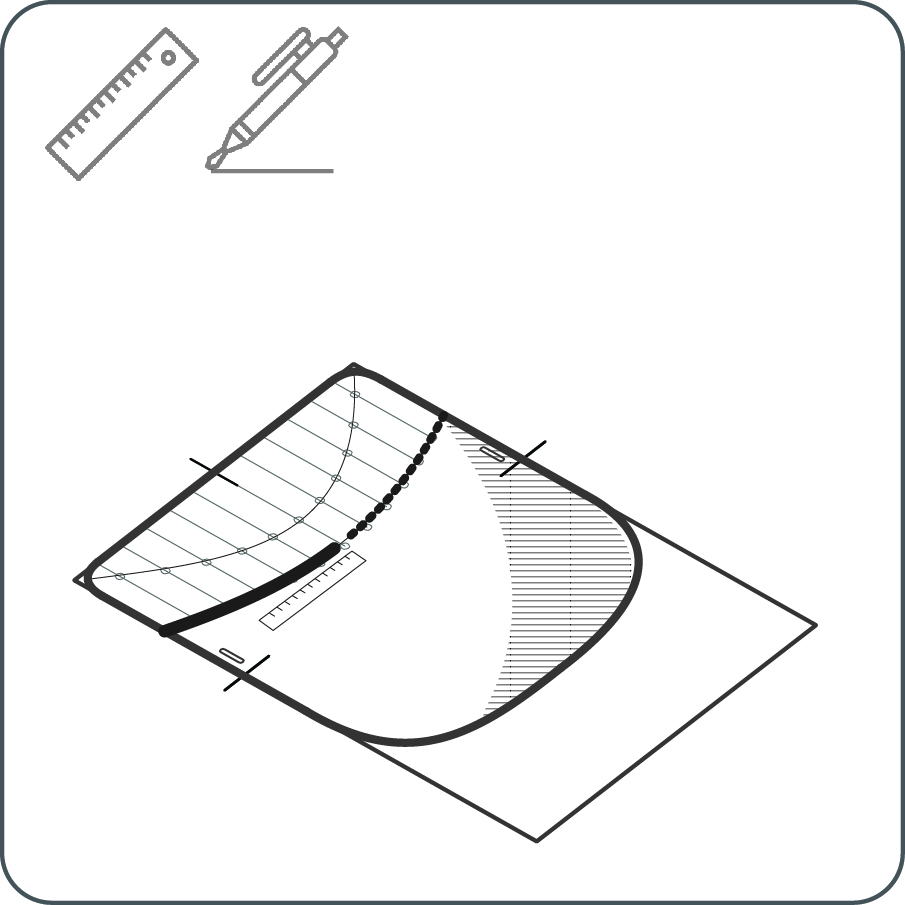
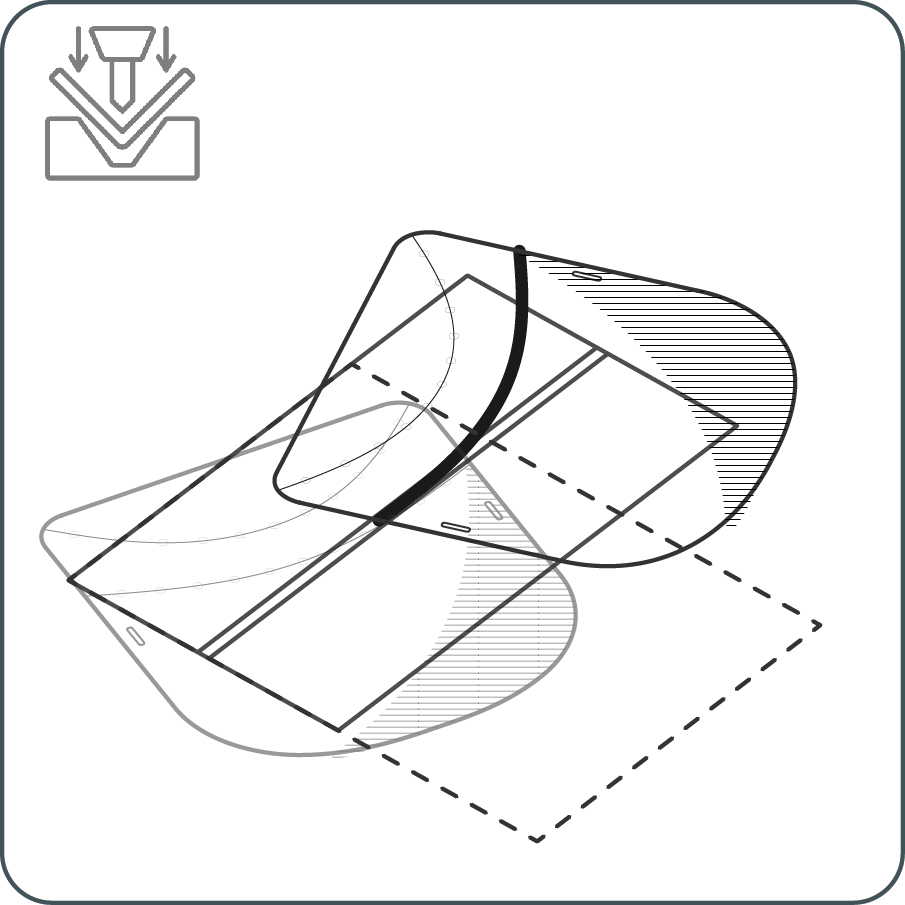
ใช้ไม้บรรทัด กรีดตามรอย 2 - 3 รอบ จนให้เห็นรอยบนแผ่นพลาสติกชัดเจน
7A
วางแผ่นพลาสติกลงบนแบบหน้ากากอีกครั้ง แล้วเอาคลิปหรือเทปกาวติดได้
8A
ทำอีกรอยพับ โดยทำเหมือนข้อ 6A.
การทำหน้ากากแบบ B
5B
ทำรอยพับบนแผ่นพลาสติกด้วยปากกา (ไม่ต้องใช้แรงกดเยอะ) ถ้ากลัวว่าแผ่นพลาสติกไม่ตรงกับแบบหน้ากาก ให้ใช้คลิปหรือเทปกาวยึดแผ่นพลาสติกกับแบบหน้ากากให้แน่น
6B
หาร่องตามพื้นโต๊ะที่มีความกว้างประมาณ 2-5 มิลลิเมตร ลึกประมาณ 2-3 มิลลิเมตร และยาวอย่างน้อย 5 เซนติเมตร หรือทำขึ้นมาเอง หลังจากนั้น ใช้ปากกาหรืออุปกรณ์อื่นๆที่ไม่มีคมเช่น มีดทาเนย ช้อน หรือตะเกียบ มาทำรอยพับ
โดยวิธีการทำรอยพับจะคล้ายกับการเย็บผ้า คือ ค่อยๆขยับแผ่นพลาสติกและใช้ปากกาทำรอยพับบนร่องตามพื้นโต๊ะไปพร้อมๆกัน ทำซ้ำหลายๆครั้งจนเกิดรอยพับชัดเจนบนแผ่นพลาสติก
7B
กลับด้านแผ่นพลาสติก
8B
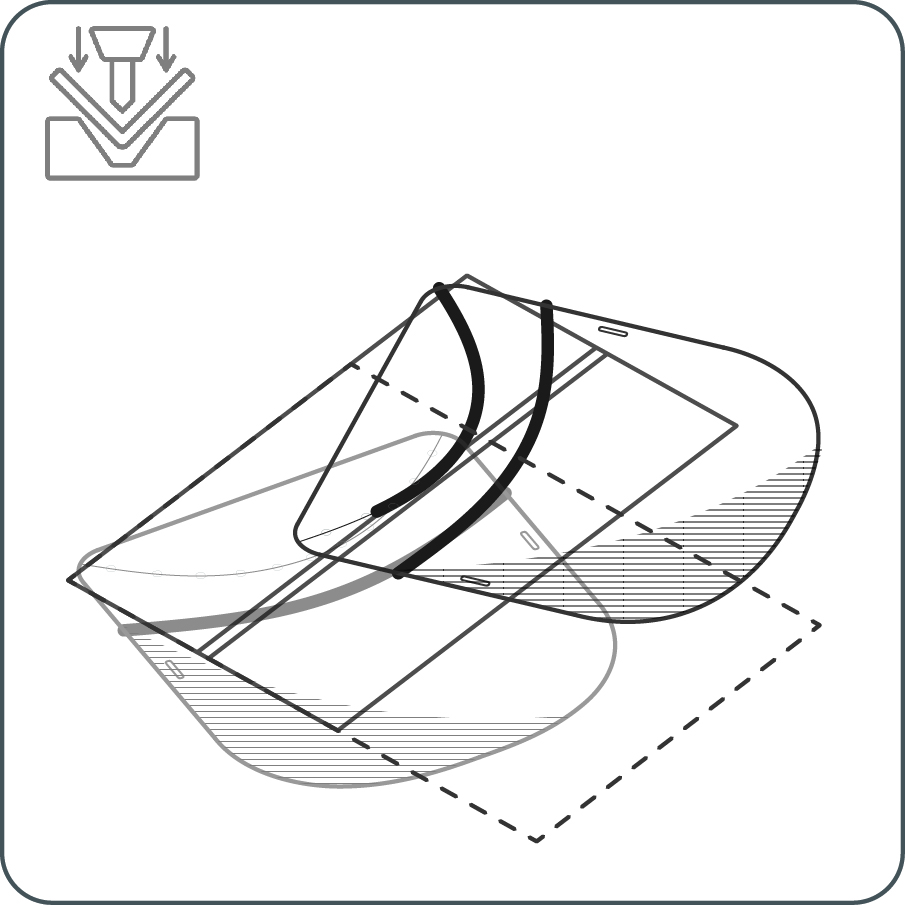
ทำซ้ำตามข้อ 6B
9
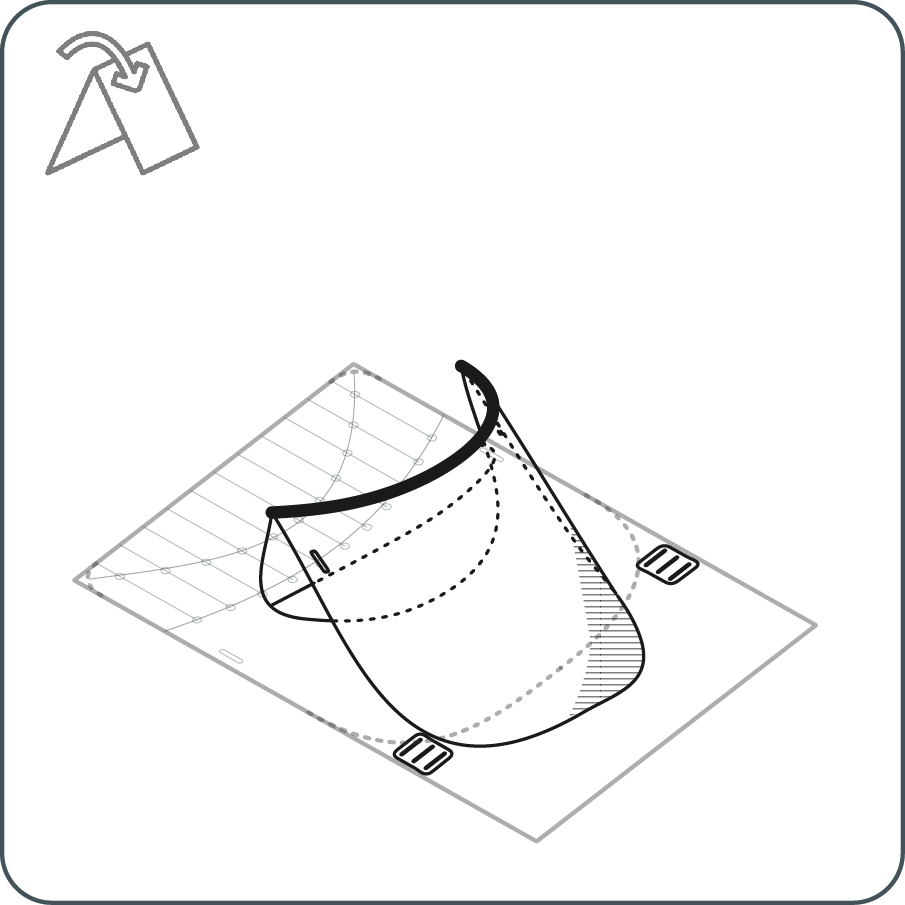
ไล่พับตามรอบพับ จากมุมด้านหนึ่งไปยังมุมอีกด้านหนึ่ง โดยถ้ารอยพับยังพับยากอยู่ หรือไม่เป็นรอยสวยงาม ให้กลับไปทำขั้นตอนการพับใหม่
10
ทำซ้ำขั้นตอนที่ 9 จนครบทุกรอยพับ โดยพับสลับด้านกัน
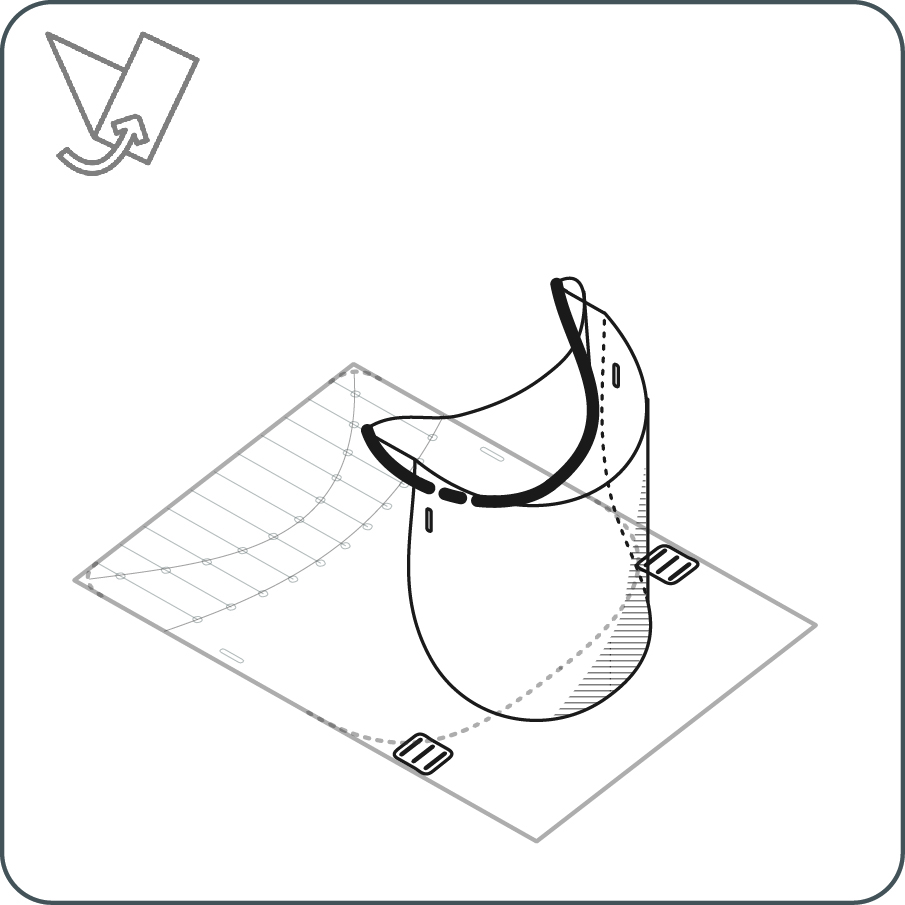
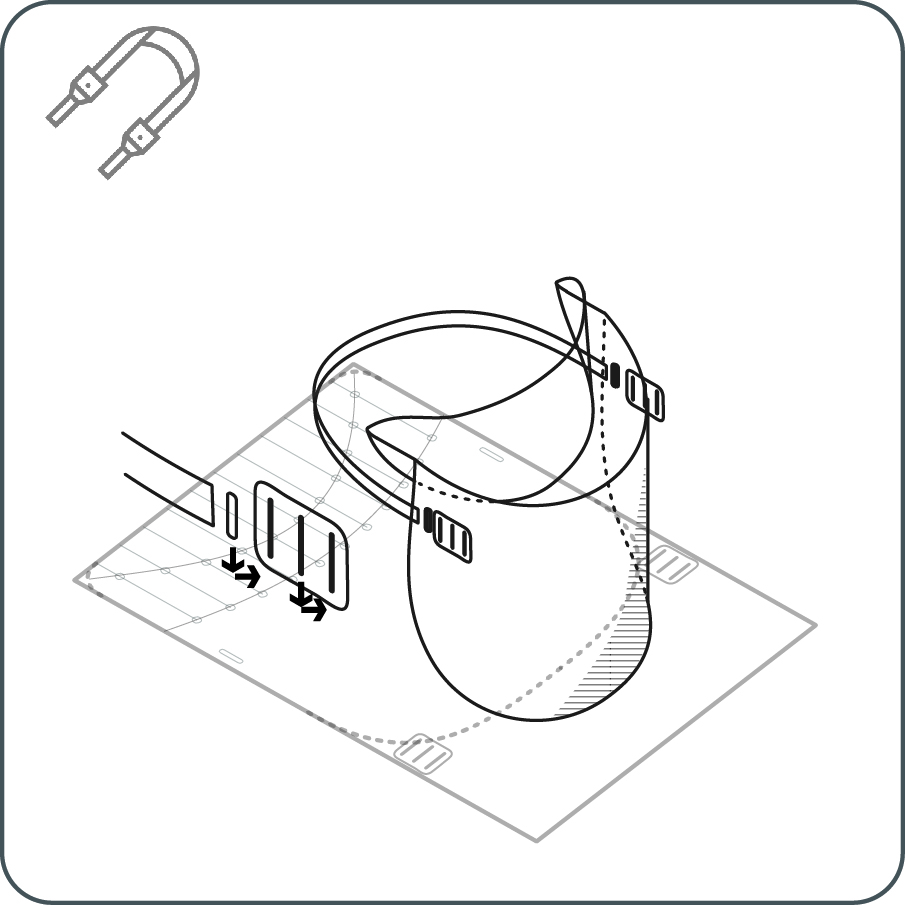
11
ร้อยยางยืดจากด้านหลังของหน้ากากไปด้านหน้าของหน้ากาก แล้วใช้คลิปหนีบไว้